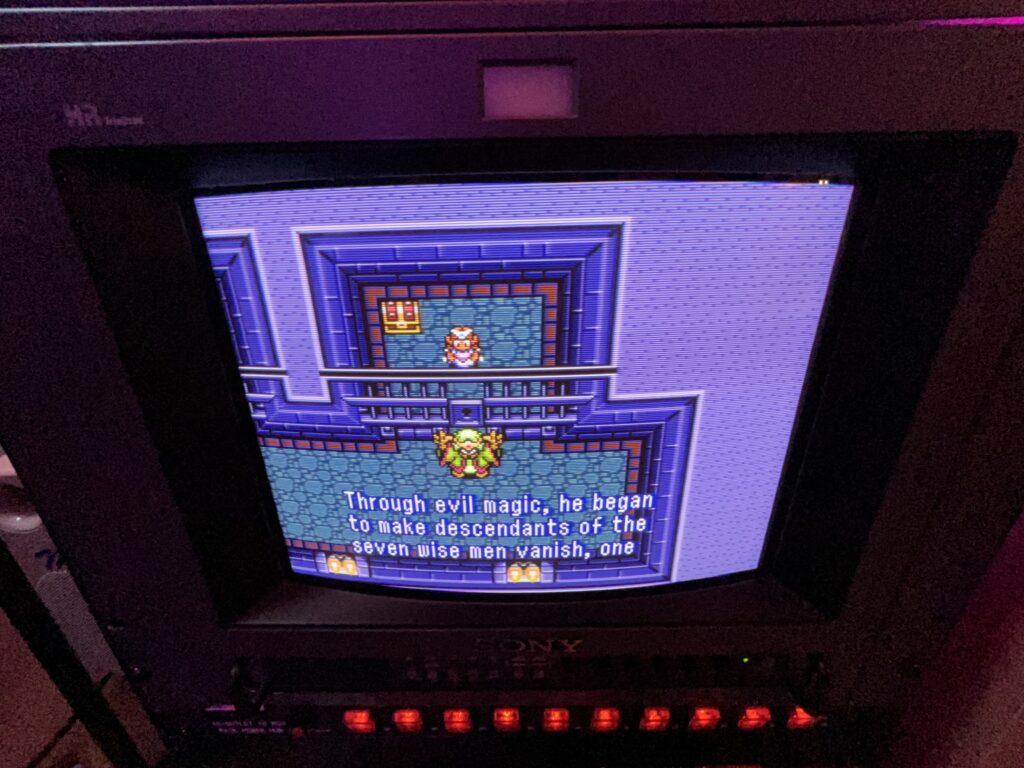
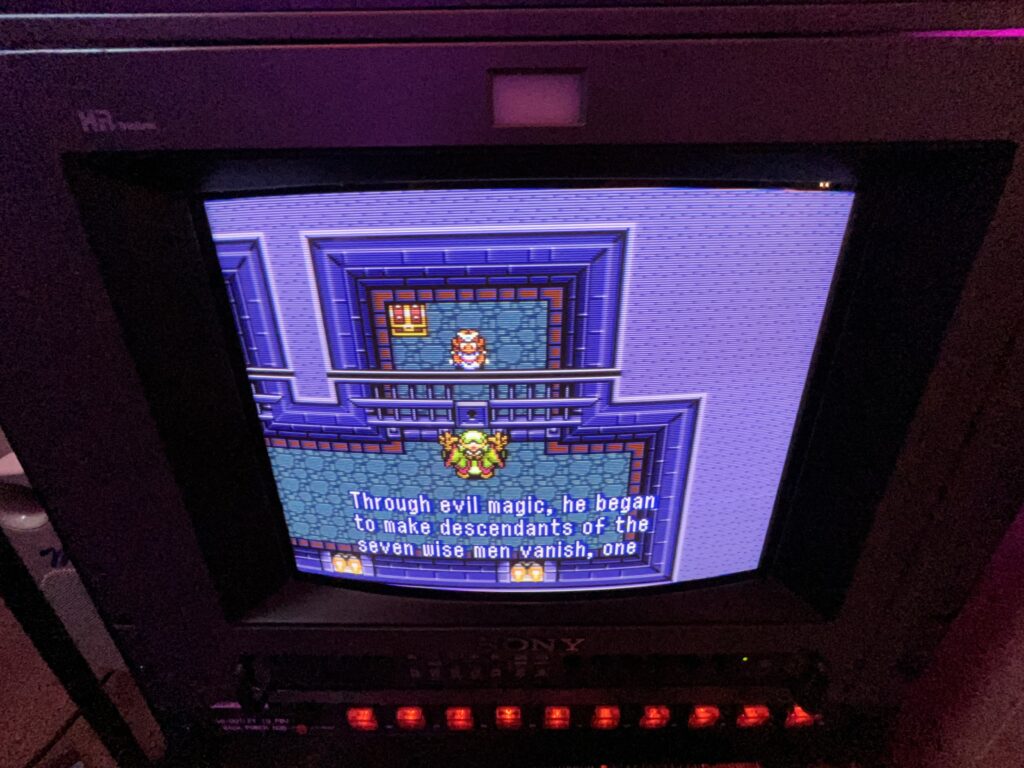
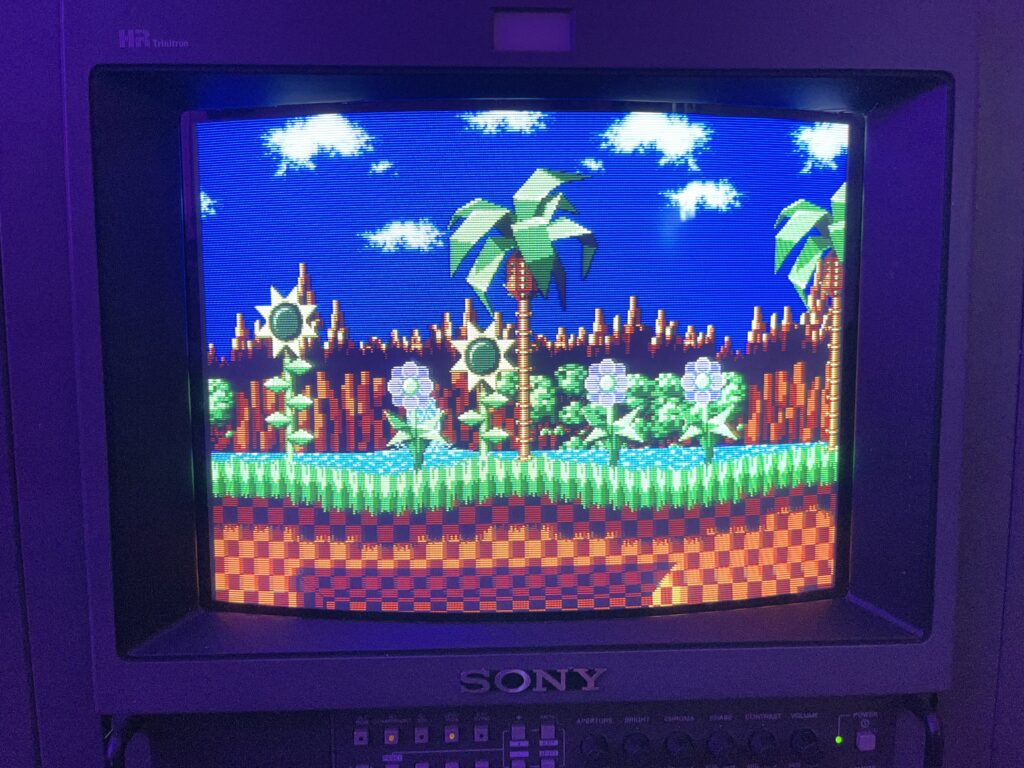
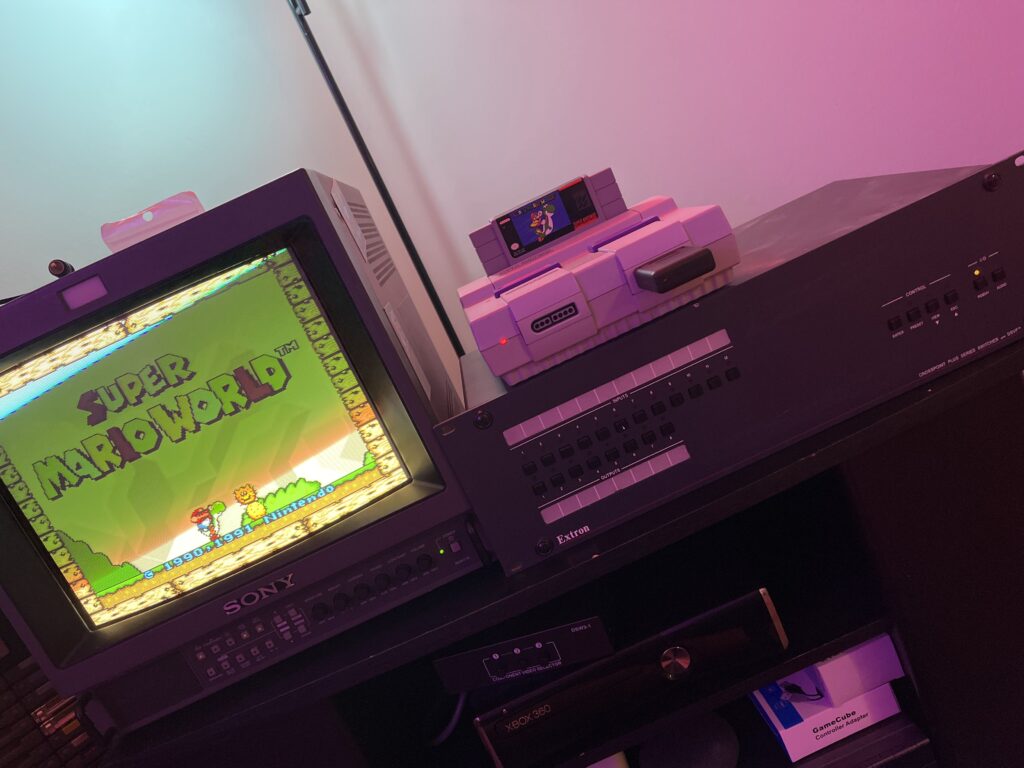
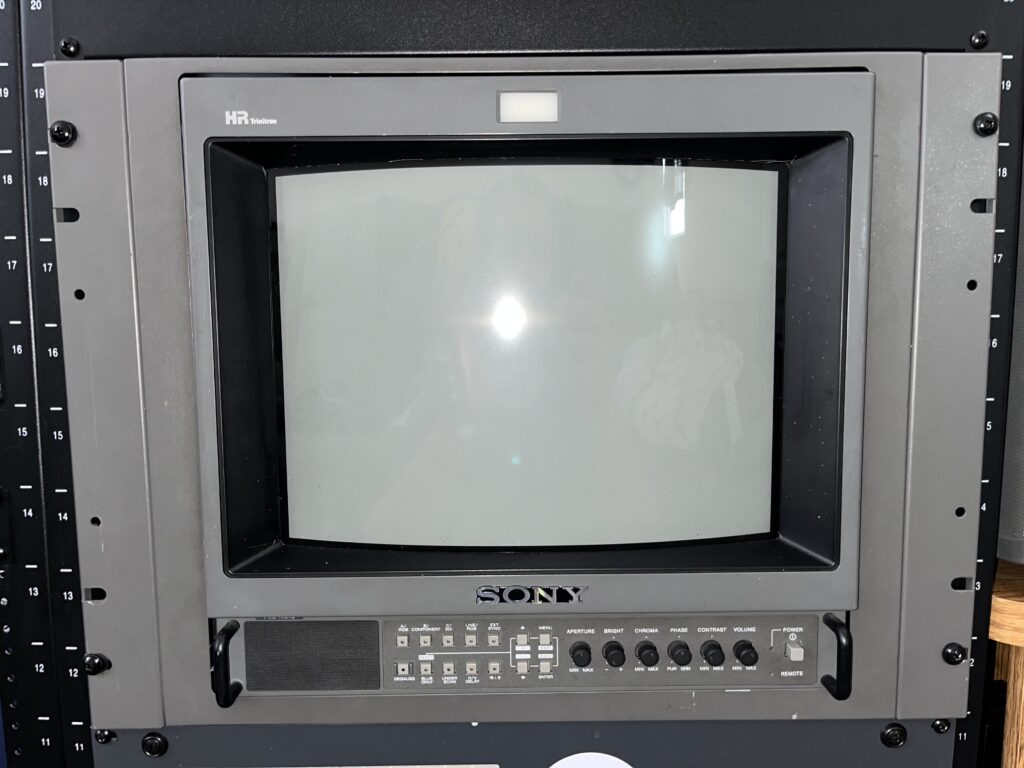
This thing was never supposed to be in my house. The dudes who used this thing WHEREEVER THE HECK it was deployed professionally did not expect some CRT obsessed dude like me to have it rack mounted in his game room (crt hoard). This kind of monitor was in TV stations, hospitals, movie production studios and many more places a you would never see a Super Nintendo. It lived its whole life being trusted for professional applications. Now it’s sitting in my game room running Super Mario World.
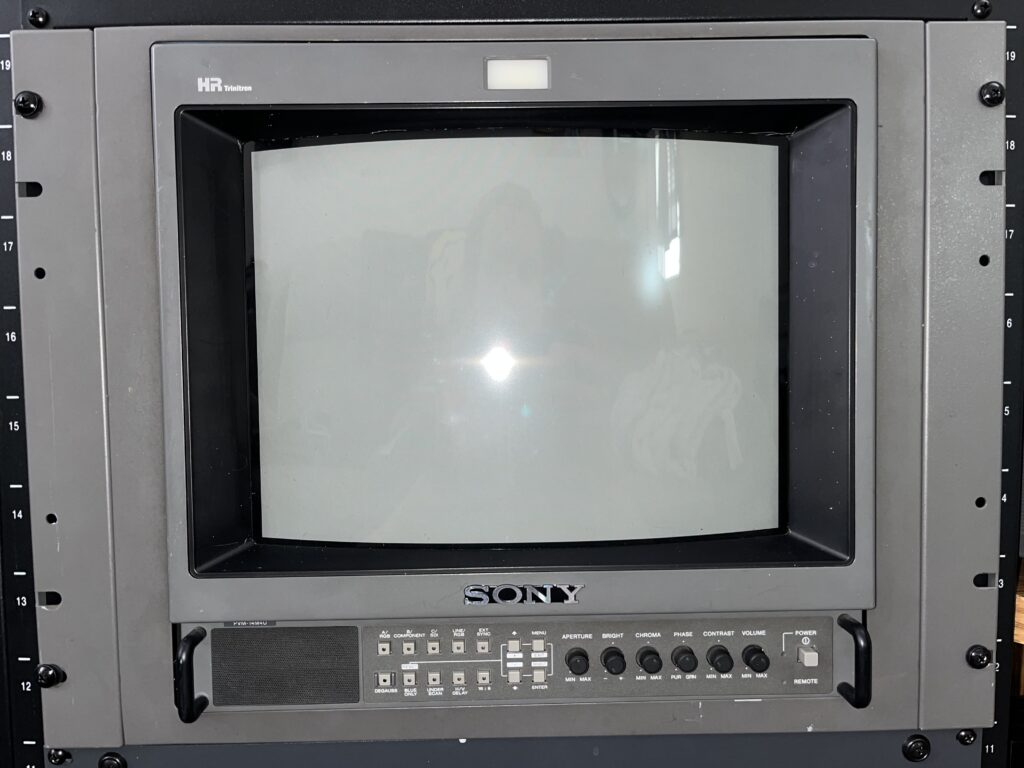
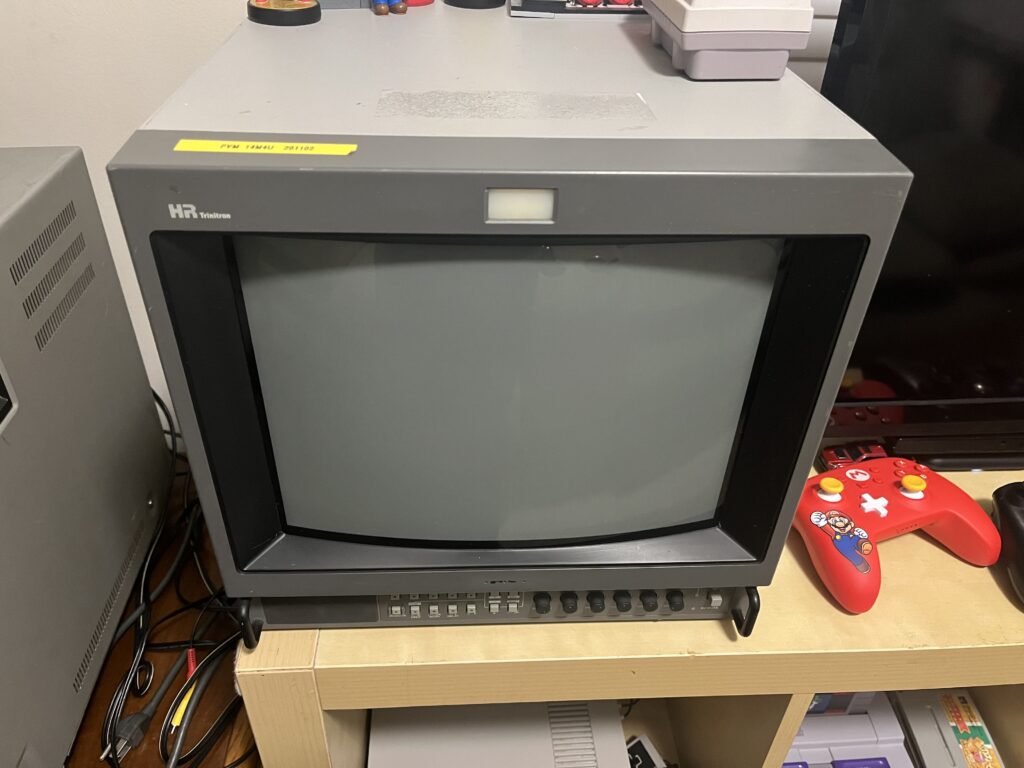
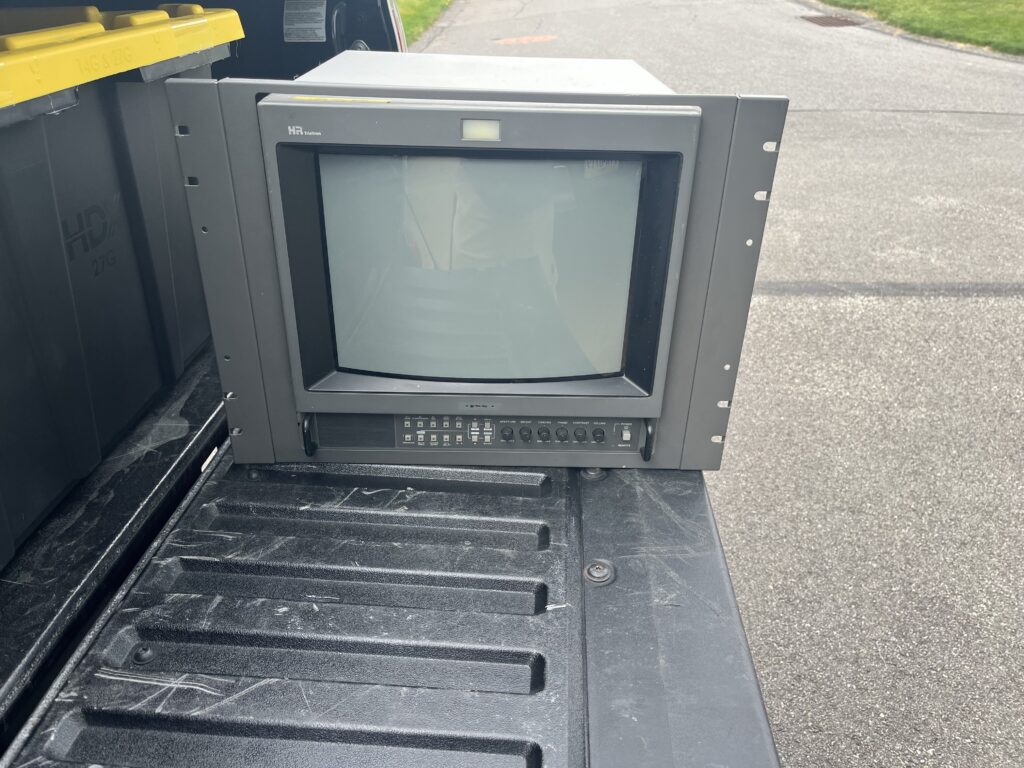
I got this in a stupid deal. The kind of deal where you don’t even think you just run. I got this 14M4U and a PVM-1942Q in the same go. I didn’t even fully process what I had until I got it home and powered her on. This isnt a massive Trinitron “grail” or whatever the heck they call them now. This was something entirely different for me… The kind of image quality that shouldnt exist for NTSC signals like 240p and 480i
Lets get the hype out of the way.
Yeah yeah. Everyone on the internet gets turned on the moment they see one of these like its the second coming of Christ, most of that is BS and you can live happier ever after with a nice component capable consumer Trinitron. BUT, this tube right here? This crap is why the reputation exists.
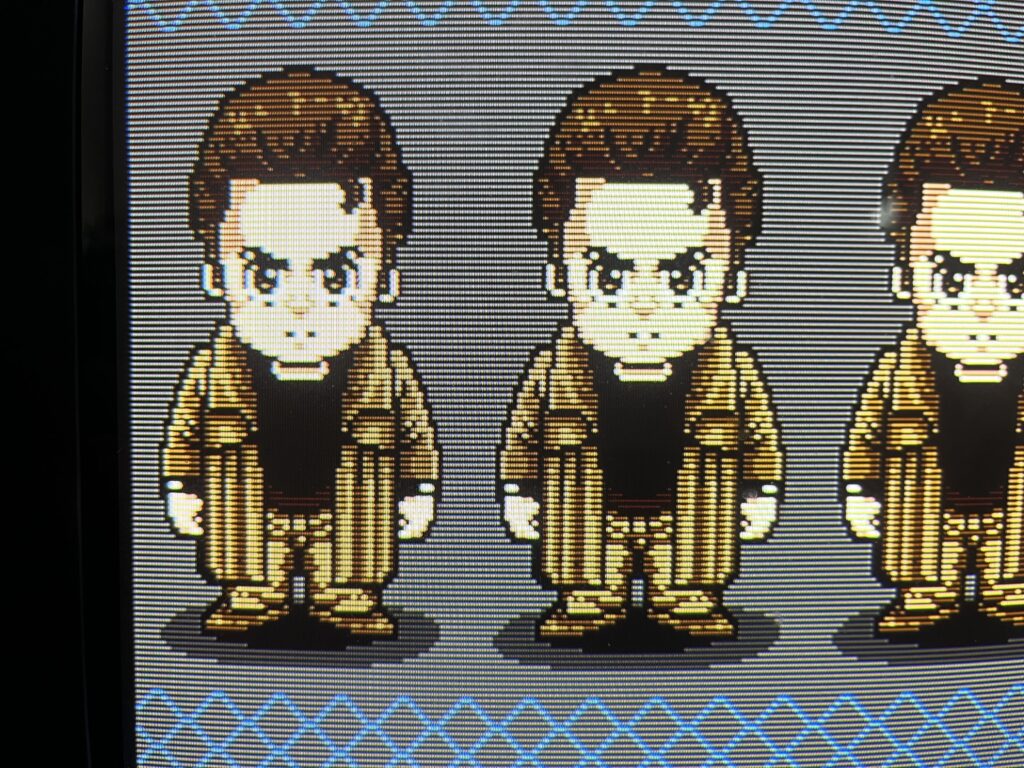
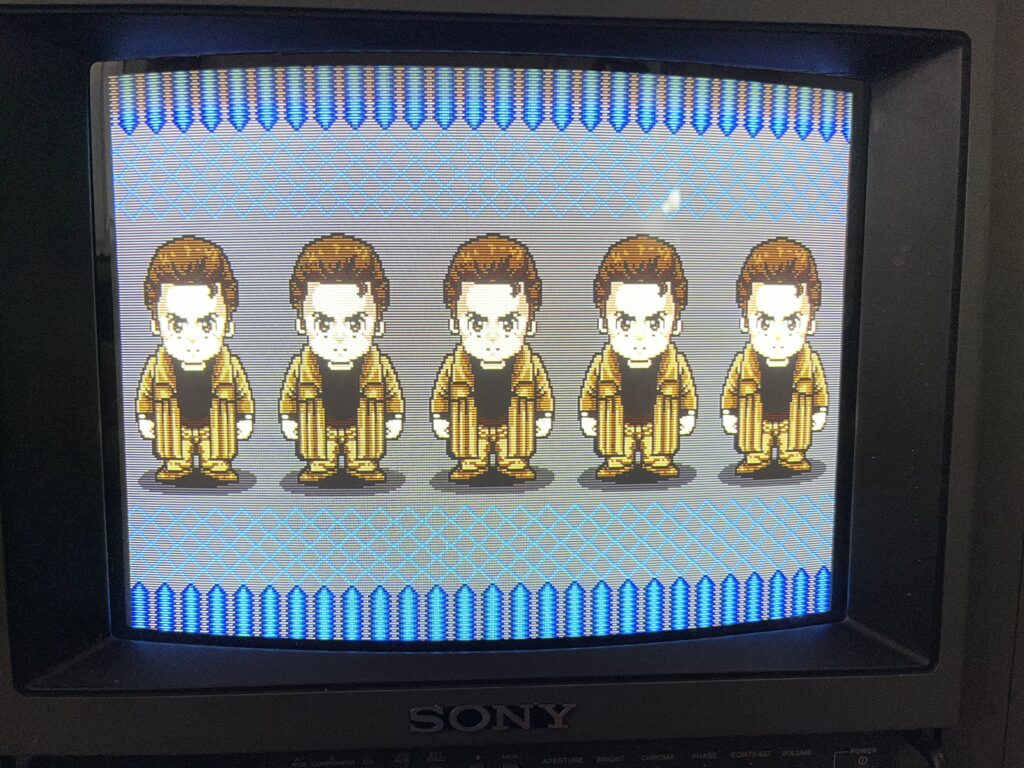
I don’t even know how to explain this without sounding like an idiot. She’s not “bright” in that blown-out Best Buy showroom way. She’s just… correct. Edges don’t blur. They don’t soften. They don’t “blend.” They just hecking exist. You start seeing:individual pixels, dithering patterns and little details you never noticed before. Its a very uncomfortable experience to learn that its the Super Nintendo that sucks and not the display when you reach this level of perfection. She is calling you out for every crappy signal you’ve ever fed into anything.
The scanlines are perfect. They’re not trying to be visible. They’re just there because that’s how it works. Here’s the part that pissed me off the most, I was ready to forgive something like a bad corner, a bow, Something. Of course… this thing looks right back at me like, all LAB PERFECT
“yeah I’m straight. what about it?”
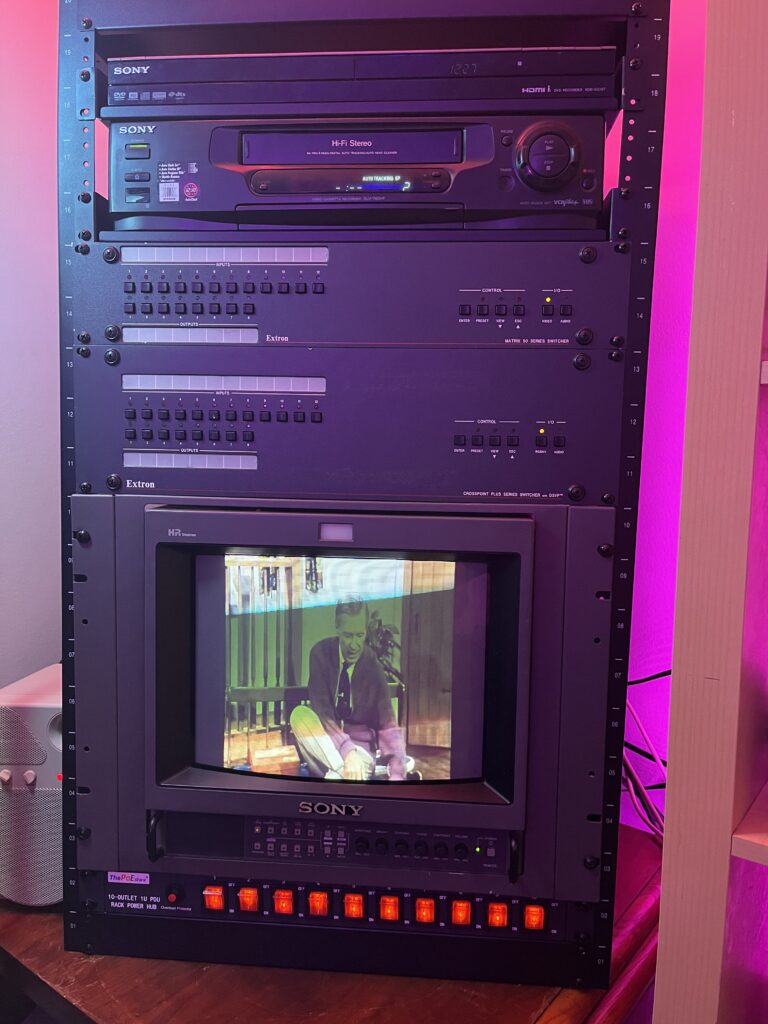
The elephant in the room is this monitor pisses me off more than it makes me happy. This is not a relaxing TV. I never sit down and actually game on this stupid thing. It made me so hyper-obsessed with EVERYTHING. PERFECT (stupid) thick shielded cables run my game room, extremely high quality adapters, every bit of analog Extron gear a man could need and I'm still never HAPPY with the image I feed this thing.
UGH
If you know what you’re doing? If you already have one? Youre exactly like me? Yeah whatever go get a PVM. You’ll just fight it and blame the monitor and loose your sanity.
If you just wanna be a normal human being who enjoys playing old games on a CRT please for the love of everything stay away from these. Please.
God forbid one of these breaks and you don't have the slightest clue how to fix it and now you're out… whatever obscene amount of money you paid for it.
I show it off to family, friends, and the internet but the grim reality is that I have completely ruined normal CRTs for myself… forever.
My rating? 9.6/10
Loss of points for how much it stresses me out.

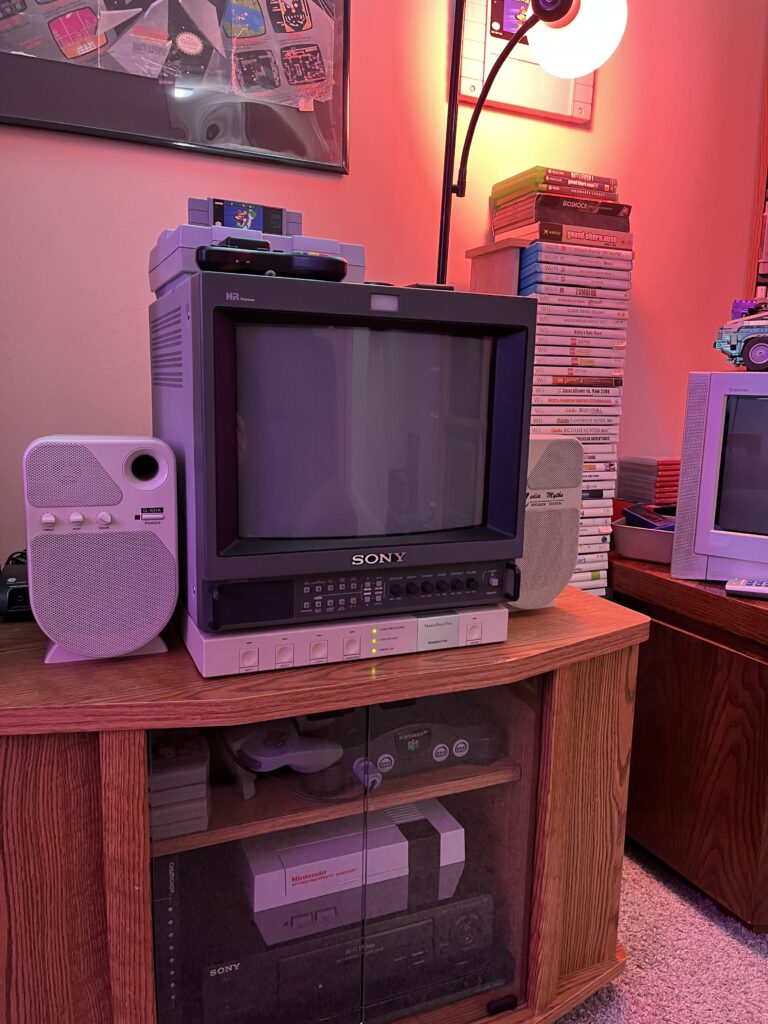
See the bottom of this page for more pictures of MY PVM-14M4U

| Brand: | Sony |
| Manufacturer: | Sony |
| Model: | 14M4U |
| Series: | PVM M-Series |
| Viewable Size: | 13" |
| Input Signals: | Composite, S-Video, Component YPbPr, RGB |
| Sync: | CSYNC, Sync over Composite |
| Native Resolutions: | 240p, 480i |
| Linecount: | 800 TVL |
| Horizontal Scan Range: | 15 kHz |
| Vertical Scan Range: | 50 Hz, 60 Hz |
| Formats: | NTSC, PAL, NTSC4.43, SECAM |
| Aspect Ratio: | 4:3 |
| Mask: | Aperture Grille |
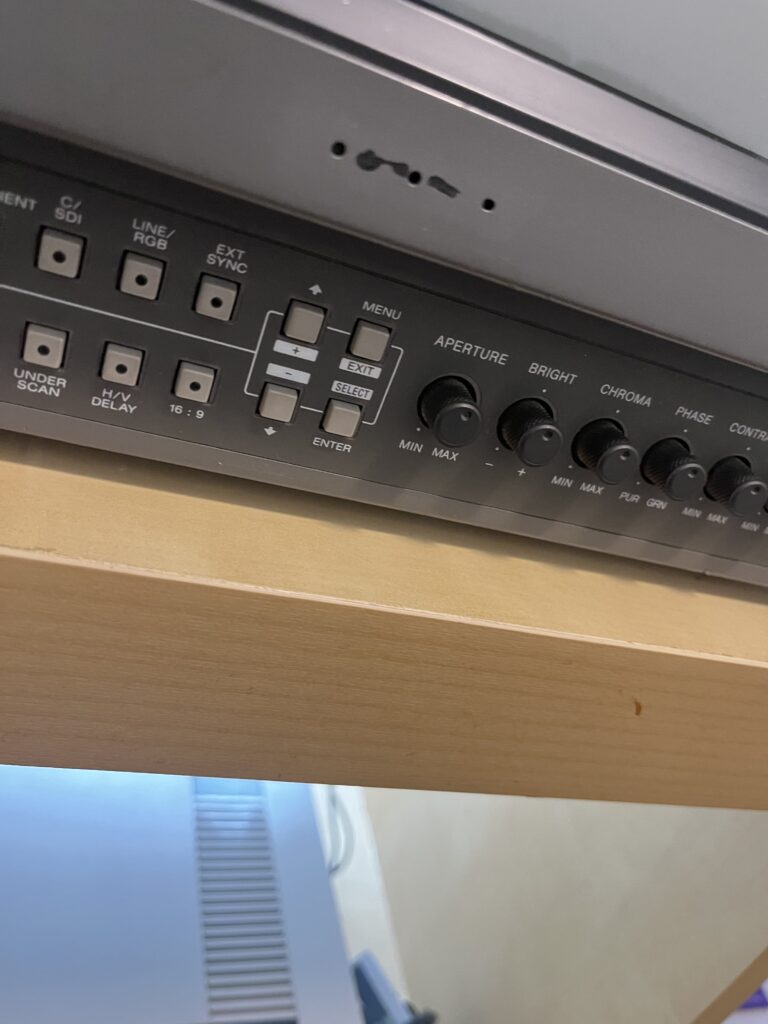
| Adjustments: | External Potentiometers, OSD Customer Controls, OSD Service Menu |
| Removable Glare Film: | |
| Tube: | Sony HR Trinitron , M34LHF20X |
| Sound: | Mono |
| Chassis: | SCC-G61G·A, SCC-G62F-A, SCC-N17B-A |
| Weight: | 37 lbs (16.8 kg) |
| Dimensions (W/H/D): | 346 x 340 x 431 mm (13.6 x 13.4 x 16.9″) |
| Application: | Professional |
| Cabinet Material: | Metal |
| Launched: | 1997 |
| Country of Manufacture: | Japan |
| Market: | Commerical |
| Mounting: | Rackable |
| Degaussing: | Auto-on power, Manual |
| CREDIT FOR THIS SPECIFICATIONS TABLE GOES DIRECTLY TO: | Benjamin McKee |
Owner's Manual
Service Manual
Sales Brochure

CLINICAL CRAP
This chassis is extremely well built, but it is not immune to time.
Most problems you’ll see are not design flaws they’re age, heat, and hours related. This is not a comprehensive list of all issues and fixes for the PVM-14M4U but this is a few things I have learned researching and preparing while owning this unit.
Power Supply / Capacitor Aging (THE MOST COMMON ISSUE):
-Dim image even with brightness up
-Washed blacks / low contrast
-Slow warm-up to full brightness
-Image instability when first powered on
This all is most likely the result of electrolytic capacitors in the power section (and jungle circuits) drying out after 20+ years. This affects: Voltage regulation, beam current stability, and overall image punch. The best and only real fix is a partial recap on the affected areas OR the better option a full recap. Focus areas: PSU board, deflection circuits, and neck board (for color stability)
Vertical Deflection Issues:
What you’ll notice: Foldover at top of screen, bright retrace lines, squished image vertically, and possibly intermittent vertical jitter. This is a classic CRT failure point that commonly affects used and abused PVMs. Bad caps in the vertical circuit. Failing vertical IC (LA78xx series typically) The best fix is to replace the vertical IC (cheap, easy) and replace surrounding electrolytics. If you only swap the IC? It may come back… then fail again so you should do BOTH.
Geometry Drift / Imperfect Alignment:
Slight bowing on edges, minor trapezoid or tilt not “perfect grid” like people expect.
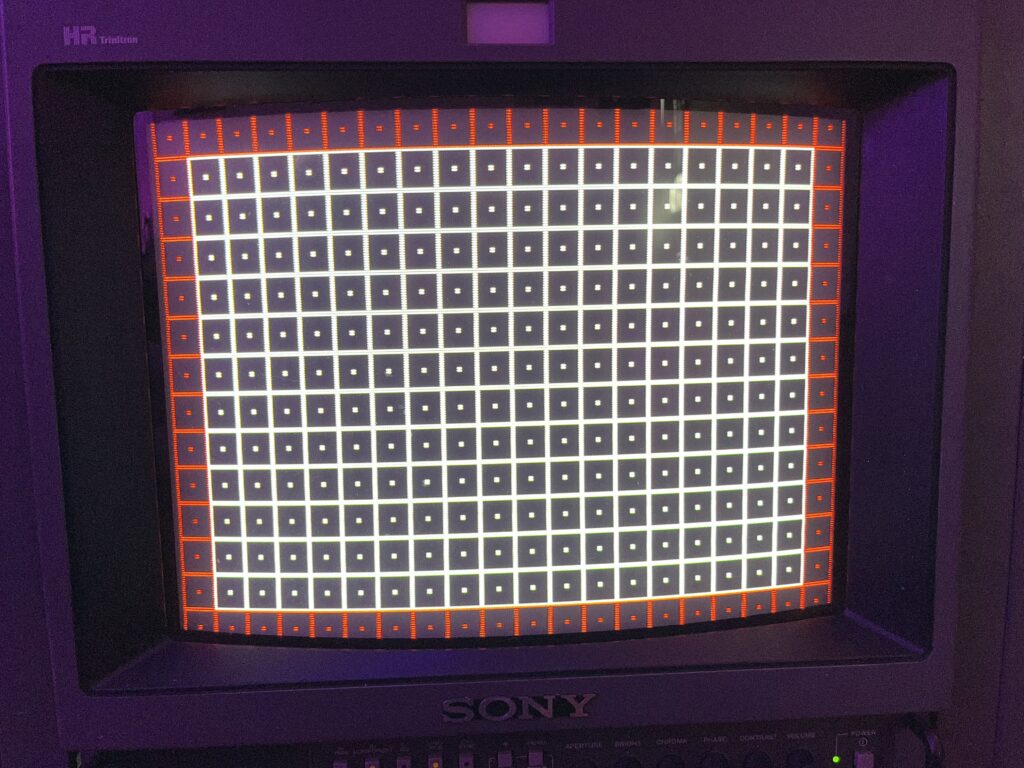
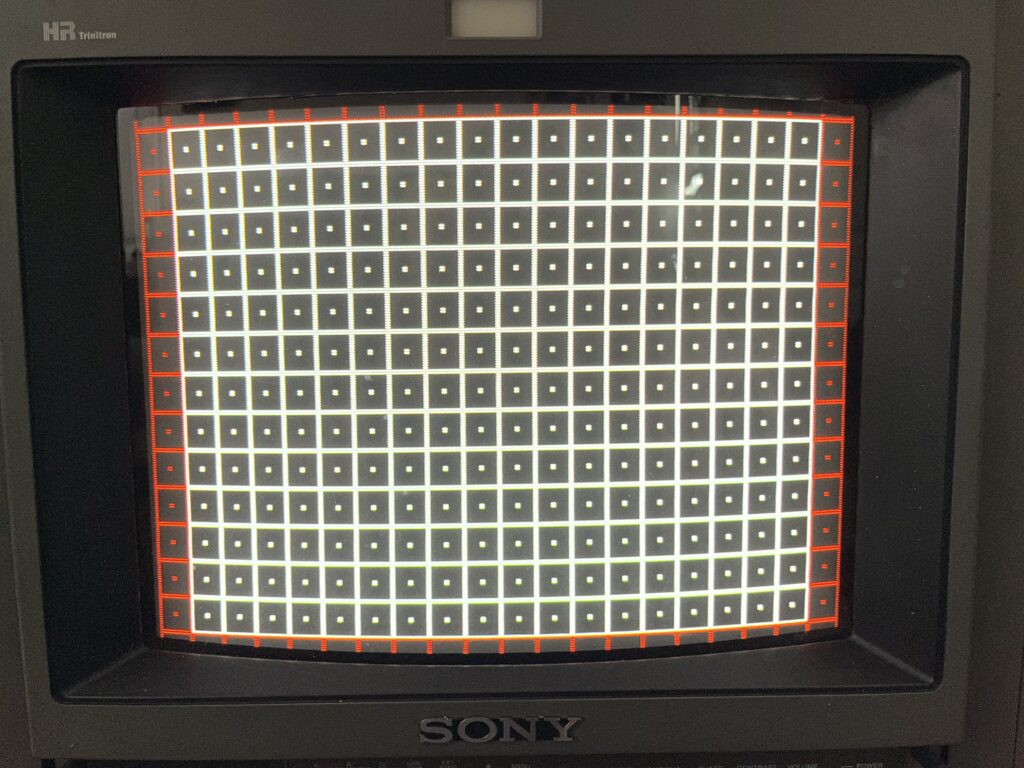
Causes? Factory tolerances, magnetic drift over time and just simply component aging in the deflection circuit Finally an issue we don't jump to playing inside the case on first attempt. Service menu adjustments may be your best friend. If you cannot resolve the issues MOVE TO STEP 2 and so on. Here is my basic run down on how to do this. Most of what people complain about with “bad geometry” on these can be cleaned up right there without ever taking the back off.
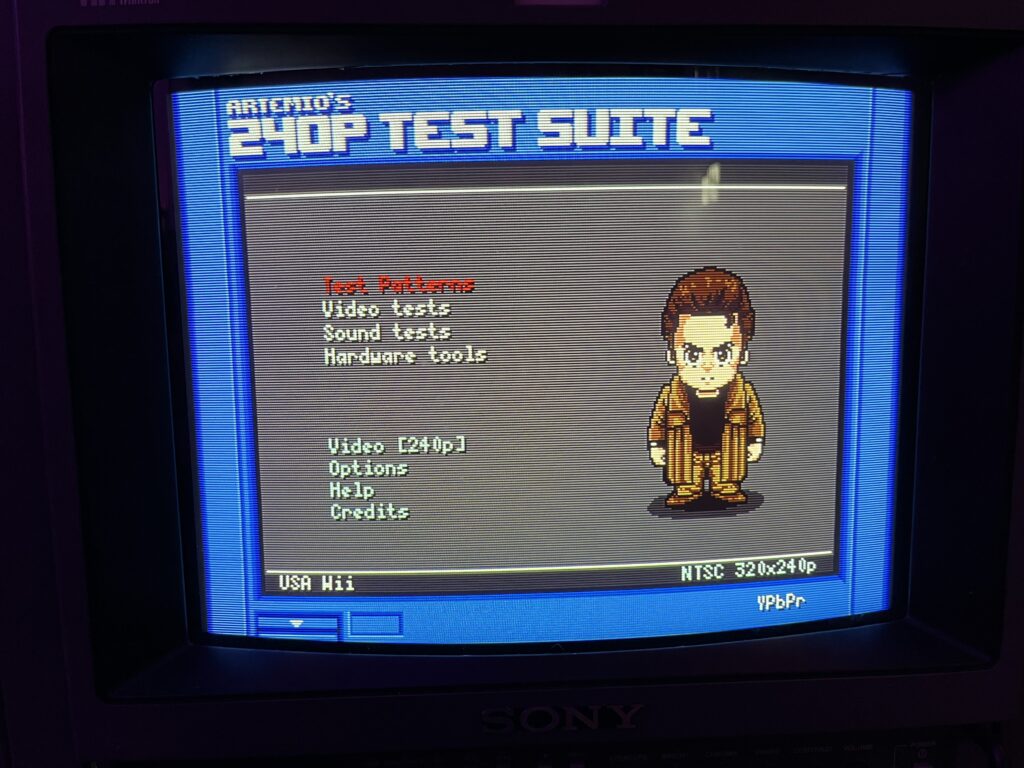
Start with a proper test pattern. Not a game, not a menu screen.. Just use the 240p Test Suite grid. That grid is the truth. If you try adjusting crap looking at a random game like Super Mario world you really will have no idea what you're actually adjusting until you've made such a massive change it's hard to go back! Once you’re in the service menu, stop and document everything before you touch a single value. Take pictures, write numbers down, whatever you have to do. If you lose track of where you started, you’re going to have a rough time going back! From there, you work in a specific order. First is vertical size. That sets how tall the image is, and you want the grid filling the screen properly without being crushed or stretched. Then you move to vertical position and center it so the spacing at the top and bottom feels even. After that, you do horizontal size to get the width right, then horizontal position to center it left to right. At that point, the image should at least be properly framed on the screen.
Once it’s centered and sized correctly, that’s when you deal with linearity. This is where I first really screwed up. Vertical linearity controls how evenly the scanlines are spaced from top to bottom. If the top of the grid looks compressed and the bottom looks stretched, this is the adjustment that fixes it. You’re trying to make the squares look the same height across the entire screen. Some sets also let you tweak horizontal linearity, which does the same thing side to side, but vertical is usually the one that matters most.
After that comes the geometry shaping controls.. pincushion, trapezoid, and sometimes parallelogram. Pincushion straightens the sides if they’re bowing inward or outward. Trapezoid fixes it if the top is wider than the bottom or vice versa. Parallelogram corrects that subtle “lean” where the whole image looks like it’s tilted to one side. These are the adjustments that take a “pretty good” image and make it actually look intentional. You'll never get it PERFECT, not on this, not on anything. You have to pick what matters to YOU. You prioritize the center of the screen and make the edges as clean as you reasonably can without ruining something else. If you chase perfection in one corner, you will absolutely mess up another part of the image. This is just the reality of CRTs from consumer TVs to PC monitors to pro gear like this 14M4U.
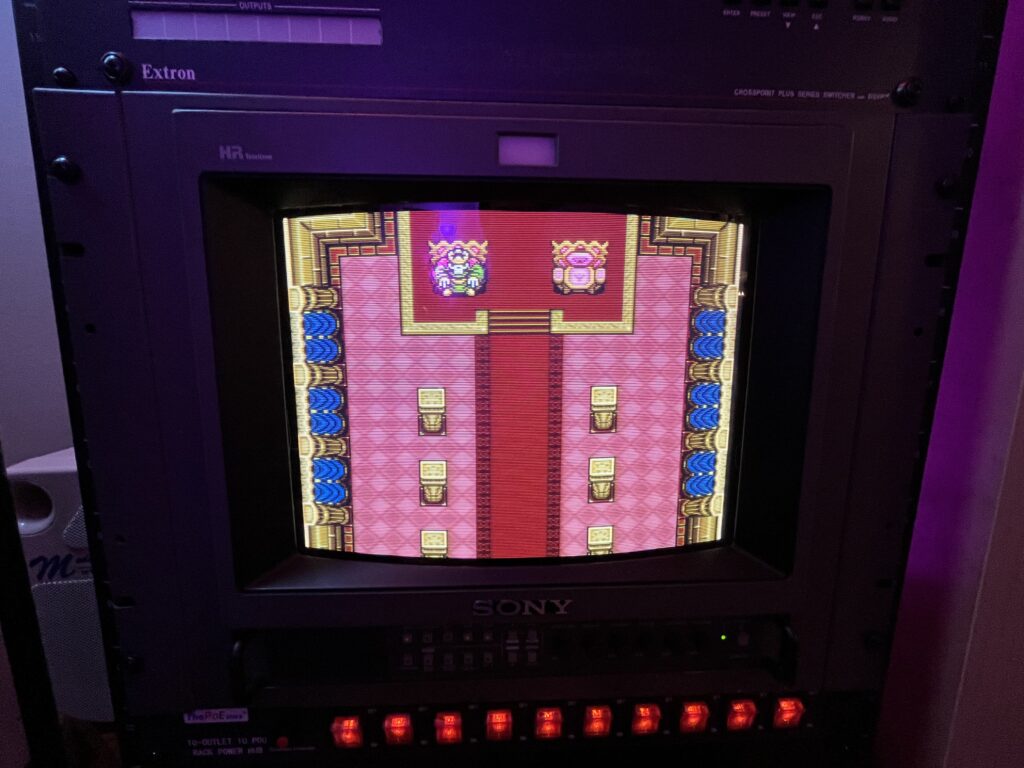
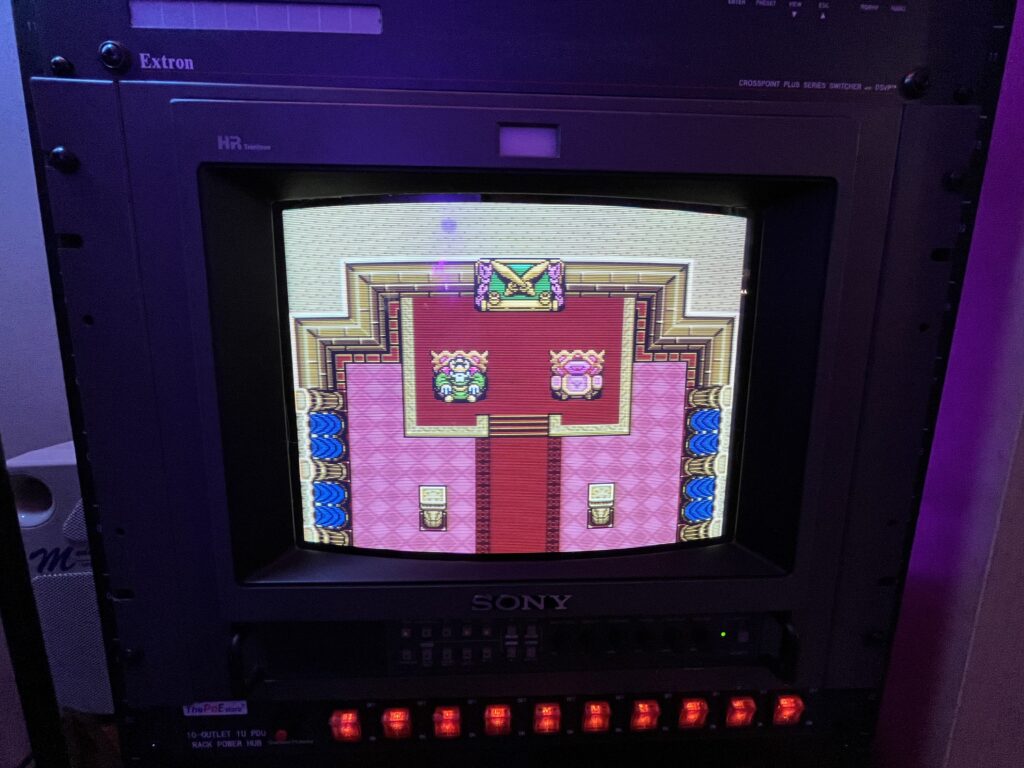
When you think youve nailed it, ACTUALLY TEST IT. PLAY MARIO! Play a game that you know very well and if the image feels right when you’re using it, you're probably where you need to be…. know when to stop. If the image is centered, stable, and nothing looks obviously wrong during normal use, you’re done. That last tiny bit of imperfection you’re staring at? You’re only seeing it because you’ve been looking at a test pattern for an hour.
If the service menu can’t fix something major then and only then do you even consider touching internal adjustments. But most of the time, especially on something like this, you don’t need to.
Step 2 Internal geometry pots (if needed). Step 3 Yoke adjustment (physical).
I am going to skip these as I do not want to provide anyone with false information or my bad habits. I would HIGHLY recommend watching some videos from RetroTech. He is EXTREMELY skilled with PVMs and explaining how to do these things.
Convergence Errors (COLOR MISALIGNMENT):
Red/blue fringing on edges, text not perfectly clean, and slight color separation in corners. This can happen when the Yoke shifts, you have aging convergence circuitry or a physical shock/bump during transport. Fix: Internal convergence rings (on tube neck) and Yoke repositioning. This is NOT beginner-friendly and I will not explain it. Like I said, check out RetroTech. One wrong move worse than you've ever seen before
BVM/PVM “Dim Tube” Myth (ACTUAL TUBE WEAR)**
Symptoms: Needs high brightness/contrast to look normal, the colors feel weak and the blacks look grey… Lets be honest with ourselves… please. Some units have obscenely high hour counts. Heres what you can do: Accept it, Increase G2, maybe a flyback adjustment. This is all pretty risky if youre not experienced but could work. A tube rejuvenation would be your LAST resort. Good like figuring out how to do that…. Like i said, check out RetroTech. A real rejuvenation can restore emission OR kill the tube completely
Input Board / Signal Issues:
Symptoms: One input looks worse than another, Noise or jailbars, and/or color imbalance on specific input. This is mostly likely one of these things… Aging caps on input board, dirty contacts or worn connectors. Honestly I’ve learned that Deoxit is your BEST FRIEND. Clean all connectors (DeoxIT) and pray you don't need to recap anything.
Sync Issues (RGB / External Sync Problems):
Symptoms: Image rolling, no lock on RGB, and/or flickering sync. This can happen with weak sync signals, a bad cable or the actual input board aging. Check your damn cables. Proper sync (csync or clean composite sync) and avoid garbage SCART cables. These monitors expect the correct signal, not “close enough”
NOW FOR THE FUN PART
Degauss / Purity Problems:
If you notice green/purple blotches and/or uneven color across screen your tube has most likely suffered from some type of magnetic interference. BUT also just moving the unit excessively and a weak degauss circuit can lead to a “build up” of these issues. Unless your actual chassis is magnetized somehow, this should be an easy fix (most of the time). Always try the built-in degauss or invest in an external degaussing wand if needed.
Flyback Transformer Issues:
Symptoms: Extremely high-pitched whining (outside of the usual noise young ears ear near a CRT, arcing and sudden shutdowns. This is not super common on these, but when it happens it can be a real problem. The real only fix is to replace the flyback transformer (if you can even find one).
Internal Dust / Heat:
This is a bigger issue than you might think. Overheating, random instability and general aging acceleration are all massive results of excessive dust. Should I explain how to fix this? UGH. Open it up and clean it. These run warm and dust just makes it worse.

Many technical specifications listed on this site are sourced from the CRT Database. Their work documenting CRT displays is extensive, accurate, and incredibly valuable to anyone interested in this hardware.

Whenever specifications are used from their database, proper credit is given.

If you want deeper technical details on any CRT mentioned here, you should absolutely reference their site.


CRT Database: https://crtdatabase.com
Portions of this page include archived materials, images, and reference content originally published by Sony. These assets were sourced from publicly available historical snapshots via the Internet Archive and are used for informational, educational, and preservation purposes only.

All trademarks, logos, and original materials remain the property of their respective owners. This site is an independent archival project and is not affiliated with or endorsed by Sony. If you are a rights holder and would like any material removed or credited differently, please contact me and I will address it promptly.